Starting flowers from seed might sound daunting, but it’s one of the most satisfying ways to fill your home with color and life. Our Beginner’s Guide to Growing Indoor Flowers – from Seed to Bloom – demystifies the entire journey, breaking it down into simple, confidence-building steps you can follow even if you’ve never touched a bag of potting mix before.
Inside, you’ll learn how to:
- Choose the right seed varieties for indoor conditions – think fast-germinating annuals like zinnias, cheerful calendulas, and fragrant sweet peas.
- Create a mini greenhouse on your windowsill using basic supplies such as seed trays, humidity domes, and a sunny spot (or inexpensive grow lights).
- Master watering and lighting routines that prevent the most common beginner pitfalls: damping-off disease, leggy stems, and slow growth.
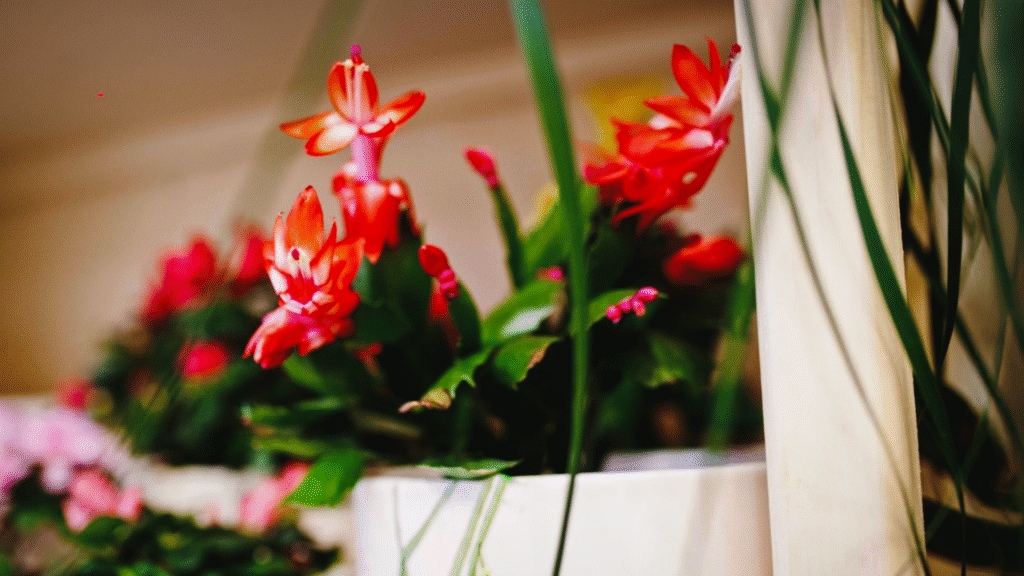
- Transplant seedlings into stylish planters – including lightweight fiberglass containers that look great and provide excellent drainage for young roots.
- Boost blooms with gentle feeding and regular deadheading so your plants keep flowering well past their first flush.
Whether you’re reviving an old green thumb or starting from scratch, Beginner’s Guide to Growing Indoor Flowers from Seed to Bloom turns a seemingly complex process into an enjoyable indoor hobby. Imagine bright, show-stopping blossoms framing your desk in winter, scenting your kitchen in spring, and adding pops of color to every corner year-round.
With a handful of seeds, a few well-chosen tools, and the step-by-step support in these pages, vibrant indoor flowers are only a season away, so let’s get sowing!
Table of Contents
Introduction to Growing Indoor Flowers From Seed
According to Southern Living, growing flowers indoors from seed offers unique advantages for beginners. It provides continuous learning and allows you to enjoy colorful blooms even without outdoor space. Indoor flowering also means you control environmental factors such as light and temperature.
Many people are surprised by the sense of satisfaction they feel watching a flower grow from a tiny seed. It’s an affordable way to expand your gardening knowledge and experiment with different varieties.
Plus, it brings beauty and comfort inside your home. Another benefit is flexibility. You can grow flowers in almost any season with the right lighting and conditions. This means you’re not limited to outdoor planting windows.
Whether you’re nurturing wild impatiens or eye-catching zinnias, indoor growing gives you the ability to start fresh varieties each season. You’re no longer at the mercy of sudden weather changes or outdoor pest invasions.
Choosing to garden indoors opens up a world of creativity. You can create themed pots or windowsill gardens tailored to your interior aesthetics. This is also an effective alternative for those in apartments or locations with limited yard access.
Benefits of Indoor Flower Cultivation
Indoor flower growing offers a range of tangible and emotional benefits. It reduces stress by connecting you with nature, and many people find nurturing plants helps improve daily routines. Studies have even linked indoor gardening to improved mental wellness and productivity. You also control water, temperature, and light, which helps reduce disease risks and improve plant health.
This leads to stronger, longer-lasting blooms that can brighten your space year-round.
What are some Common Misconceptions Beginners Have?
One common myth is that growing flowers indoors is nearly impossible without a greenhouse. In truth, many flowers thrive indoors with basic tools and consistent care. You don’t need professional gear – just patience and attention. Another misconception is that only professionals can grow flowers from seed.
Seed-to-bloom success is absolutely within beginner reach, especially with proper lighting, watering schedules, and guidance like what you’ll find here.
How Can I Choose the Right Indoor Flowers for Seed Growing?

Not all flowers are equally suited for indoor seed growing. When choosing varieties, you’ll want to consider how much space you have, the amount of natural light in your rooms, and the overall indoor temperature throughout the year. Matching plant needs with your indoor conditions boosts success rates. It’s also essential to evaluate your time and lifestyle.
Some indoor flowers are more forgiving and require only occasional care, while others might need daily attention. Pick species that align with your routines and skill level. Flower size and growth habits are also considerations.
Compact and bushy plants work well indoors, especially near windowsills or on tabletops. Tall, sprawling-growth types may need trellises or pruning. Finally, think about your purpose.
Do you want bright, fragrant blooms? Are you creating a calming green space? Some flowers offer vivid colors and rich scents while others may focus more on form and greenery.
Top 10 Indoor Flowers for Beginners
Here’s a list of flower varieties that are beginner-friendly and grow well indoors:
- Pansies – Cool-season flowers that thrive in containers.
- Geraniums – Vibrant flowers and pleasant scents.
- Snapdragons – Climatic adaptability, upright stalks add vertical interest.
- Zinnias – Fast-growing and colorful.
- Petunias – Excellent for hanging baskets and windows.
- Alyssum – Dense ground cover, great for pot edges.
- Begonias – Shady room-friendly and beautiful leaves.
- Impatiens – Easy to care for and bloom in subdued light.
- Calendula – Bright orange blooms and medicinal benefits.
- Marigolds – Quick to germinate, bright blooms, and very low maintenance.
Factors to Consider: Space, Lighting, and Climate
Space planning is key; be aware of vertical and horizontal room for pots, especially as plants grow. Choose varieties suitable for pots and ensure they’re spaced to support airflow.
Lighting varies in every home. South-facing windows work well, while low-light conditions may need full-spectrum grow lights. Room temperature should remain between 65–75°F for most indoor flowers to thrive.
Essential Tools and Supplies You Need
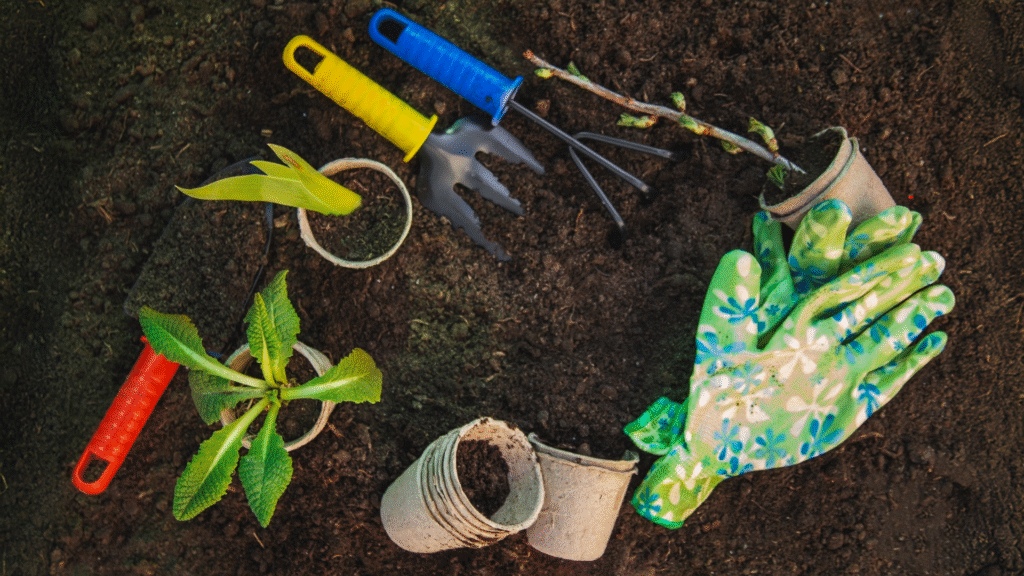
Starting the right way means having the correct tools. A good toolkit sets the foundation for successful indoor flower growing. You don’t need every gadget – just the essentials for planting, maintenance, and repotting. Be sure to keep everything in an accessible location.
Indoor gardening often means more frequent tasks like misting, checking humidity, and inspecting for pests. Easy access equals increased consistency. Quality over quantity matters. Well-made tools save you time and reduce frustration. Compare materials, tool grips, and intended use before buying.
It’s most cost-effective to purchase a starter set of indoor gardening tools. Many kits include hand trowels, moisture meters, and pruning scissors that match smaller-scale needs.
Must-Have Gardening Tools for Growing Flowers Indoors
Some foundational tools you’ll likely need include:
- Hand trowel – For easy soil movement and seed placement.
- Watering can with narrow spout – Avoid splashing or oversaturating.
- Humidity tray or spray bottle – Maintains required moisture levels.
- Grow lights – Especially useful during winter months.
- Soil scoop and mini rake – For soil leveling and smooth top dressing.
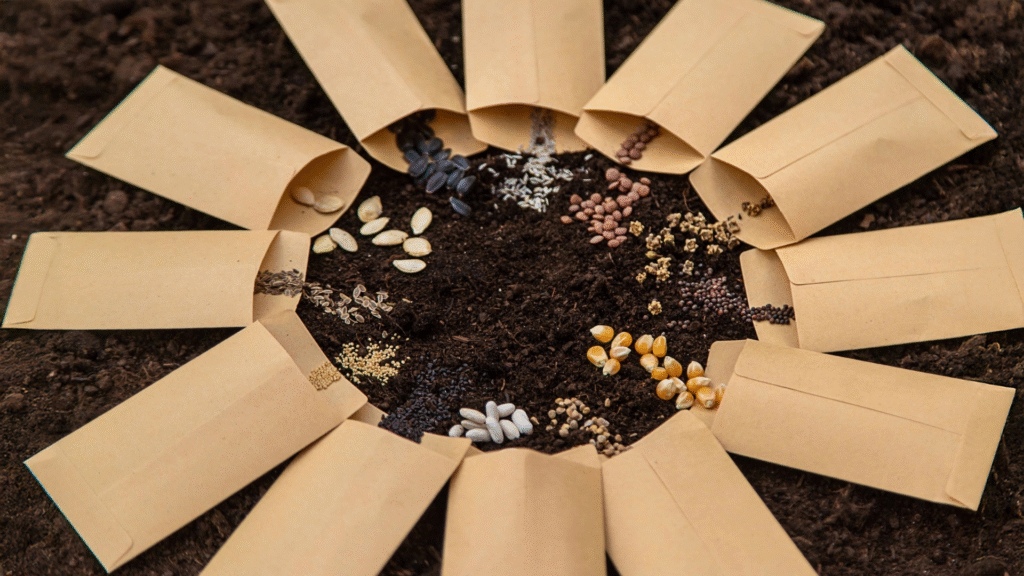
Choosing Quality Seeds for Successful Blooms
Always opt for seeds from reputable sources. Check labels for the highest germination rate and freshness. Heirloom or organic labeling can also indicate higher quality. If possible, purchase seeds that have been specifically bred for confined spaces or containers. These typically have shorter stems and more compact foliage.
Recommended Pots, Containers, and Soil Options
Choose lightweight containers with proper drainage. Self-watering pots can be helpful, but aren’t essential. For aesthetics and function, fiberglass containers are a top pick due to their low maintenance and durability. Use high-quality potting mix—not garden soil. Look for mixes that include perlite, coconut coir, or vermiculite for better water control. You can also mix your own based on flower type.
Step-by-Step Guide to Planting Flower Seeds Indoors
Seed preparation helps ensure solid germination. Planting directly into the pot is suitable for most beginners, but seed-starting trays work as well. Label your plantings for easy tracking. Read each seed packet for specific requirements. Some seeds need light to germinate, while others do better in darkness.
Adjust your method accordingly. Use clean tools, containers, and hands when planting. Contamination can cause fungal issues. Keep a journal with planting dates and actions for future improvement. Don’t overcrowd! Spacing helps with air circulation and reduces the likelihood of disease.
Preparing Your Seeds Before Planting
Some seeds benefit from soaking in water 6–12 hours before planting. Others need cold stratification, which involves storing seeds in the fridge for a few days or weeks. Check seed packets or visit sources like botanical garden seed guides for tailored prep tips.
Proper Seed Sowing Techniques for Best Results
Plant seeds at the correct depth and spacing. Use your finger or a chopstick for precise placement. After sowing, cover with a light layer of soil and gently mist. For better visibility, keep the containers in clear-lidded trays that allow light while retaining moisture. Open lids slightly once germination starts to improve airflow.
How Deep Should You Plant Each Seed Type?
As a basic rule: plant seeds at a depth about 2–3 times their width. Some, like begonias or impatiens, should stay on the surface as they need light to germinate.
Refer to this seed depth guide from Penn State Extension to match depth to each seed type for optimal outcomes.
Caring for Your Indoor Flower Seedlings
After germination, your seedlings enter their most delicate stage. They’ll need the right balance of light, water, and nutrients to grow strong. Avoid overwatering and always monitor for leggy growth. Too much warmth or moisture can lead to damping-off—a fungal issue that causes stem collapse.
Keep the area ventilated and sterile to protect your seedlings. Consistency is more important than perfection. Keep your environment as stable as possible and correct issues gently as they arise.
Managing Light and Temperature for Healthy Seedlings
Position seedlings near the brightest window or under grow lights for 12–16 hours a day. Rotate them weekly for even growth. Night temperatures should not fall below 60°F. You may need to invest in a thermometer or light timer for enhanced control. Moderate humidity around 50–60% is ideal.
Watering Practices: How Often and How Much?
Water only when the top layer of soil feels dry. Use a bottom-watering method to prevent stem rot by allowing the plant to absorb from beneath. Overwatering is the #1 issue most beginners face. Err on the side of keeping the soil just slightly moist instead of soggy.
Fertilization Basics: Feeding Your Growing Plants
Once true leaves form, feed your seedlings with a half-strength balanced liquid fertilizer every 10–14 days. Nutrients matter for strong stems and larger blooms. If you see signs of yellowing or slow growth, reassess your feeding frequency and water-to-light balance.
Protecting Seedlings from Common Issues and Diseases
Use sterile soil and containers to prevent fungal growth. Remove debris and dead foliage from pots promptly. Good hygiene goes a long way. Introduce a small fan for air circulation if you notice mold or white patches. This simple trick has saved many indoor gardens!
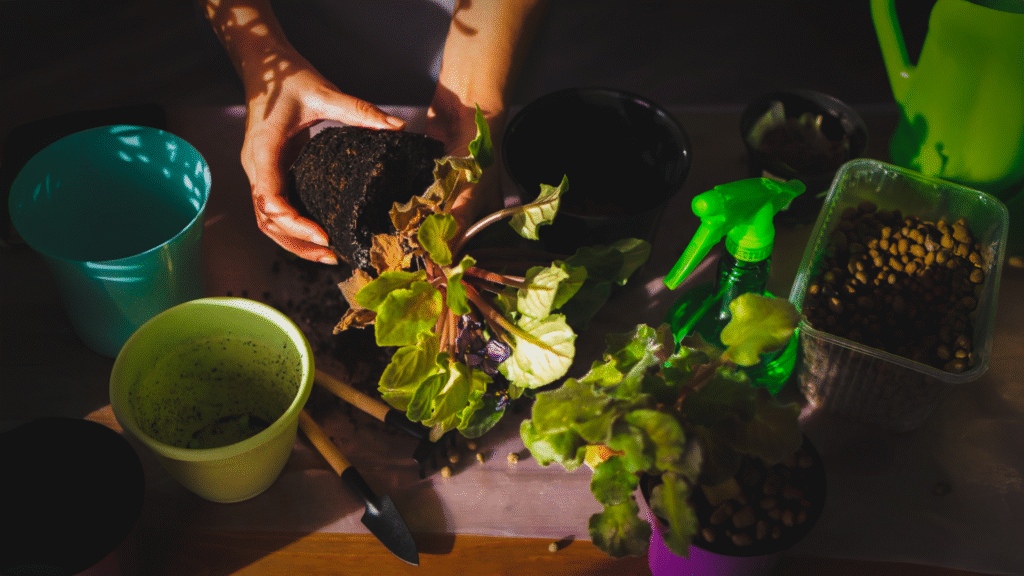
Repotting and Transplanting Indoor Flowers

As your flowers grow, you may need to move them into larger pots. Repotting supports their expanding root systems and prevents crowding. Doing this correctly avoids transplantation shock and encourages more vigorous growth.
Signs that plants need repotting include root tips poking out from the bottom, slowed growth, or soil drying out quickly after watering. Always use clean pots and slightly damp soil during the process. Avoid repotting sick or stressed plants unless necessary.
Signs Your Flowers Need Transplanting
Watch for tilted plants, brittleness, stunted leaves, or visible roots along the soil surface. These are common hints it’s time for a larger container. Plants in small or shallow containers also tend to use up nutrients faster, needing more frequent feeding unless re-potted.
Simple Steps for Safe and Effective Transplanting
Gently loosen soil around the edge of the pot. Tip the container and guide the plant out without tugging the stems. Tease out roots only if they’re tightly wound. Place the plant in the new pot, adding fresh soil around it without pressing down excessively. Water lightly to settle the mix.
Choosing the Right Size Pot for Continued Growth
A pot that’s 1–2 inches wider in diameter than the current container is ideal. Too much extra room increases water retention issues. Fiberglass planters are excellent as they allow root development without compacting.